Ender 3 Pro: The 2026 Resurrection
Pros
- + Ultra-budget entry cost
- + Silent operation with BTT board
- + Set-and-forget first layers with CR-Touch
Cons
- − Requires manual tinkering
- − Lacks modern 'smart' features
- − Slow compared to CoreXY
Fresh Start: Dusting off the Legend
There is a specific kind of guilt associated with a 3D printer sitting under a literal layer of dust. My old Ender 3 Pro has been a shelf-piece for years, but with my desk drowning in loose SD cards and hex keys, the need for Gridfinity bins finally pushed me to see if this old workhorse still had life in it.
The goal was simple: Apply the "Essential 5" upgrades on a shoestring budget to see if a second-hand Ender is still a smarter buy than a modern £300 "smart" printer.
The "Essential 5" Upgrades
I focused purely on quality-of-life and reliability. No fancy touchscreens or speed-chasing—just mechanical consistency.
- BTT SKR Mini E3 V3: The single best upgrade. It turned the "whine" of the stepper motors into total silence.
- Dual Z-Axis: Added a second lead screw to stop the X-gantry sag that plagues these older single-motor frames.
- Bed Insulation & Silicon Spacers: To keep the heat in and the bed level for weeks, replacing the flimsy stock springs.
- Upgraded Fans: Swapped the buzzy stock 4010s for higher-static pressure fans to improve overhangs.
- CR-Touch Auto-Leveling: The final piece. It maps the warped dips in the old Ender bed that manual leveling simply can't fix.
The Installation Experience
The biggest hurdle wasn't the electronics—it was finding the tools to install them. The irony of needing to print a storage system while your tools are lost in a junk drawer is not lost on me.
Once the hex keys were located, the SKR Mini was a drop-in replacement. If you can plug in a toaster, you can swap this board. The Dual Z-axis required some frame squaring, but for a "project" afternoon, it was remarkably satisfying.
The rest of the upgrades were straightforward, with the CR-Touch and the upgraded fans installation being the most fiddly due to the tight space around the hotend and feeding the cabled through the mesh sleeving. However, the end result was a machine that felt more "solid" and less like a kit.
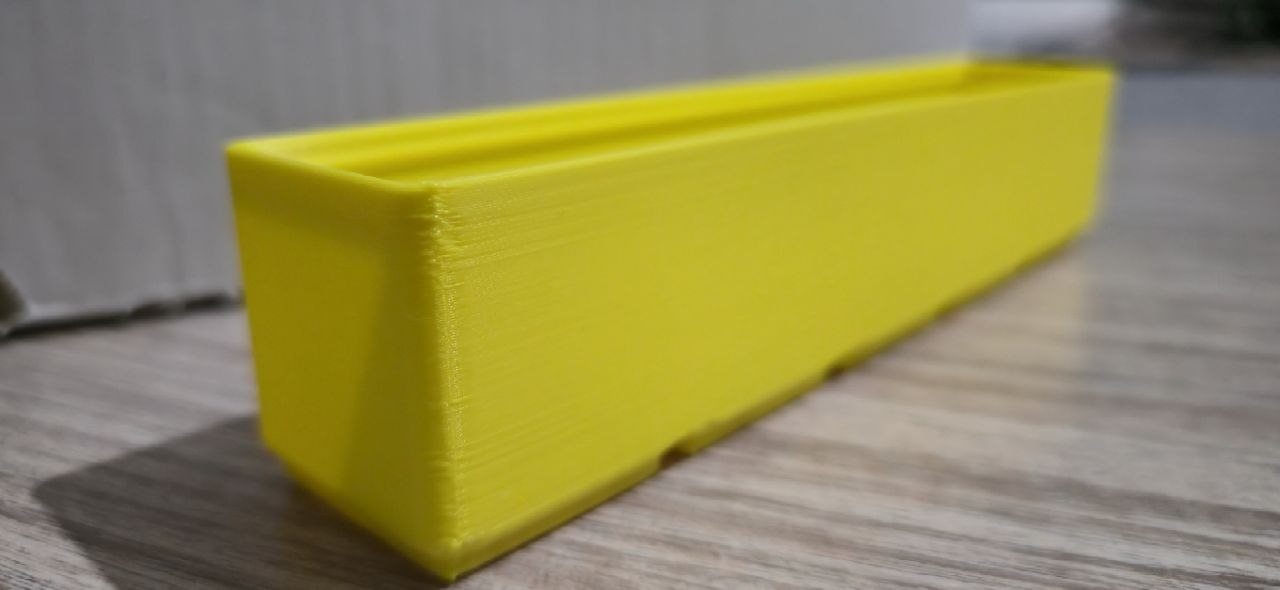
Performance: The Gridfinity Test
I ran a 48-hour marathon of 4x4 bins in PLA.
- Consistency: 10/10. With the silicon spacers and CR-Touch, I didn't have to touch the leveling knobs once.
- Sound: 42dB. It's now quiet enough to sit on the desk while I work without needing noise-canceling headphones.
- Quality: While it won't win any beauty contests at 60mm/s, the walls are vertical, the corners are sharp, and the bins stack perfectly.
The Ender 3 Pro doesn't need to be the fastest in the room; it just needs to be the one that finishes the job while you're asleep.
Should you buy one in 2026?
If you find one on a local marketplace for £50–£70, yes. For an additional £80 in parts, you have a machine that understands the fundamentals of printing better than many closed-box systems. It handles the "boring" utilitarian prints with a level of reliability that justified every penny spent on the resurrection.
Technical Specs (Post-Mod):
- Mainboard: 32-bit Silent TMC2209 Drivers
- Leveling: CR-Touch Auto-Leveling (16-point mesh)
- Target Material: PLA / PETG Utility Parts
- Reliability Score: High
What's Next for the Ender 3 Pro? (Phase 2)
While the machine is now a reliable workhorse, the "Project Car" mentality never truly ends. To squeeze every last drop of performance out of this £50 frame without spending Bambu Lab money, here is the roadmap for the next round of mods:
1. Klipper via Raspberry Pi
The SKR Mini board is great, but the onboard processor is still doing the heavy lifting. Moving the kinematics to a Raspberry Pi running Klipper will allow for Input Shaping and Pressure Advance. This should theoretically let us double the print speed while actually increasing quality by eliminating ghosting.
2. The Great Linear Motion Debate
V-slot wheels are cheap, but they wear out and develop flat spots. I’m planning to test whether Linear Rails (on the X-axis) or Linear Rods and Bearings (on the Y-axis) offer the best "bang-for-buck" for bed slingers. The goal is to eliminate the slight "vibration ripples" seen in high-gloss filaments.
3. BTT TFT35 E3 Touchscreen
Admittedly, the old "click-wheel" 12864 screen has a certain retro charm, but it’s 2026. Swapping in a BTT Touch TFT will give us a modern UI and a much easier way to manage files and terminal commands without tethering a laptop.
The Quest Continues: Stay tuned for the Phase 2 write-up where we attempt to push this frame to 150mm/s without it shaking itself apart.